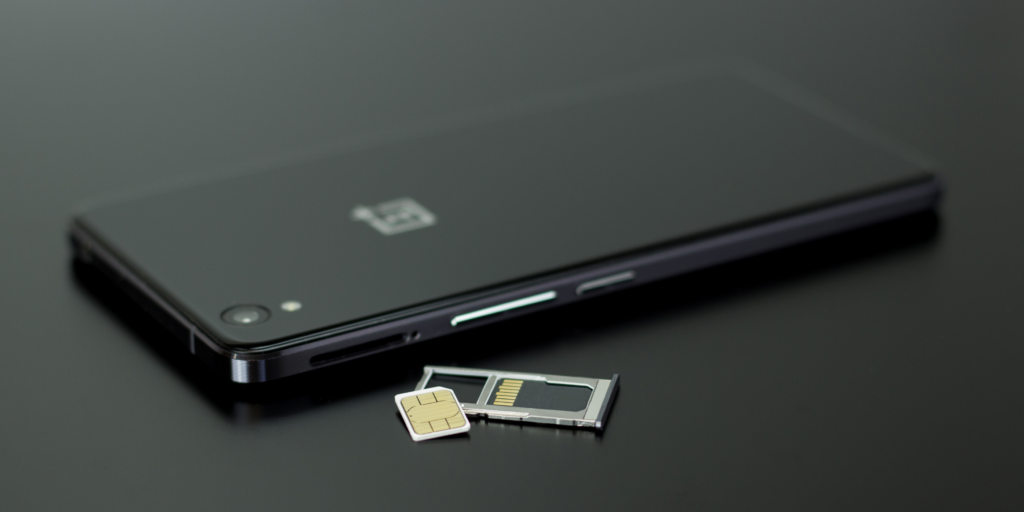
Your smartphone is your lifeline to the world — calls, messages, apps, and work are all just a tap away. So when something as simple as a jammed SIM tray starts acting up, it can feel like a major problem. Whether you’re using an iPhone, Samsung, or any other Android device, a stuck SIM tray can be incredibly frustrating and even damaging if handled the wrong way.
But before you reach for sharp objects or apply excessive force, take a breath. You can fix a jammed SIM tray without damaging your phone — you just need the right method, tools, and a little patience.

Common Reasons Why SIM Trays Get Jammed
Before we dive into the fixes, it helps to understand what could be causing the issue:
1. Misaligned SIM Card
If the SIM card isn’t seated properly or has shifted inside the tray, it may prevent the tray from ejecting.
2. Debris or Dust
Tiny particles can accumulate over time, especially if you swap SIMs frequently or don’t use a protective case.
3. Damaged or Bent SIM Tray
A tray that’s been forced in at the wrong angle or dropped may have deformed slightly, making it harder to eject.
4. Faulty Eject Mechanism
Sometimes, the internal spring or mechanism that pops the tray out can malfunction, especially in older phones or after repairs.
What You’ll Need Before You Start
To attempt a DIY fix, gather the following items:
- SIM ejector tool (or a small paperclip)
- Flashlight
- Soft-bristle toothbrush
- Tweezers (non-metallic preferred)
- Magnifying glass (optional but helpful)
- Canned air (for blowing out dust)
Step-by-Step: How to Fix a Jammed SIM Tray Safely
Step 1: Inspect the SIM Tray Area
Shine a flashlight into the SIM slot to look for visible obstructions, debris, or damage. Be gentle — avoid sticking anything in just yet.
Step 2: Use the Right Tool
Use the official SIM ejector tool that came with your phone. If you’ve lost it, a small paperclip will work — but make sure it’s not too thick or sharp.
Pro Tip: Ensure the tool is perpendicular to the hole and apply steady, firm pressure. Wiggling or forcing the tool at an angle could worsen the problem.
Step 3: Try Gentle Tapping
Sometimes gravity can assist you. Hold your phone vertically (SIM tray facing down) and gently tap the back of the device with your palm while pressing the ejector tool in. This can help dislodge a stuck tray caused by dust or a slightly misaligned card.
Step 4: Clean Around the Slot
If the tray is slightly out but won’t slide further, there may be debris holding it back. Use a soft-bristle brush or canned air to clean around the tray opening. Avoid liquid cleaners or metal picks.
Step 5: Use Tweezers — Carefully
If the tray is slightly sticking out and you can grip it without scratching the phone, gently use plastic or rubber-tipped tweezers to pull it out. Never use metal tweezers, as they can damage internal components or short-circuit the phone.
What Not To Do
Even with the best intentions, some “DIY fixes” can do more harm than good. Avoid these at all costs:
- Don’t use sharp objects like needles, knives, or pins — they can puncture internal parts or damage your phone’s finish.
- Don’t apply excessive force. If it’s not budging, stop before something breaks.
- Don’t pry the tray open using a screwdriver or blade. This can crack the frame or screen.
- Avoid liquids, as moisture can corrode internal components.
When to Seek Professional Help
If none of these steps work and the SIM tray still won’t budge, it’s better to stop trying before something breaks. At this point, it’s wise to seek mobile phone repair in Adelaide from professionals who can remove the tray safely using specialized tools — without damaging your phone’s internal components.
Preventing Future SIM Tray Issues
Once you’ve fixed the issue (or had it repaired), a few simple precautions can keep your SIM tray working smoothly:
- Always power off your phone before inserting or removing the SIM tray.
- Avoid switching SIMs frequently unless necessary.
- Use a case to protect your phone from dust and impacts.
- Handle the tray gently — avoid bending it or inserting it at odd angles.
- Use original or manufacturer-approved SIM trays if replacements are needed.
Wrapping Up
Fixing a jammed SIM tray doesn’t always require a trip to the repair shop — but knowing when to stop and get help is just as important as knowing where to begin.
By using the right tools, applying gentle pressure, and steering clear of risky fixes, you can safely remove a stuck SIM tray on your own. But if you’re uncertain, don’t push your luck — especially with expensive or high-end models.
For fast, safe, and expert assistance, you can always trust SAM Phone Repair — Adelaide’s go-to source for mobile device repairs done right. Whether it’s a jammed SIM tray, a broken screen, or battery issues, their friendly technicians can help get your phone back in top condition.

